The following article will walk you through understanding and configuring the ServiceNow Exoprise integration, additional options available, and assigning alarms to the integration. Once configured, the integration will automatically create (open) and resolve (close) incidents in ServiceNow.

ServiceNow Account
The first step to setting up the integration is to create an account to use in the configuration. The Incident Manager role should provide the integration account enough permissions to create and resolve incidents. Keep in mind that customized permissions and environments may require additional security roles.
Configuring the ServiceNow Integration
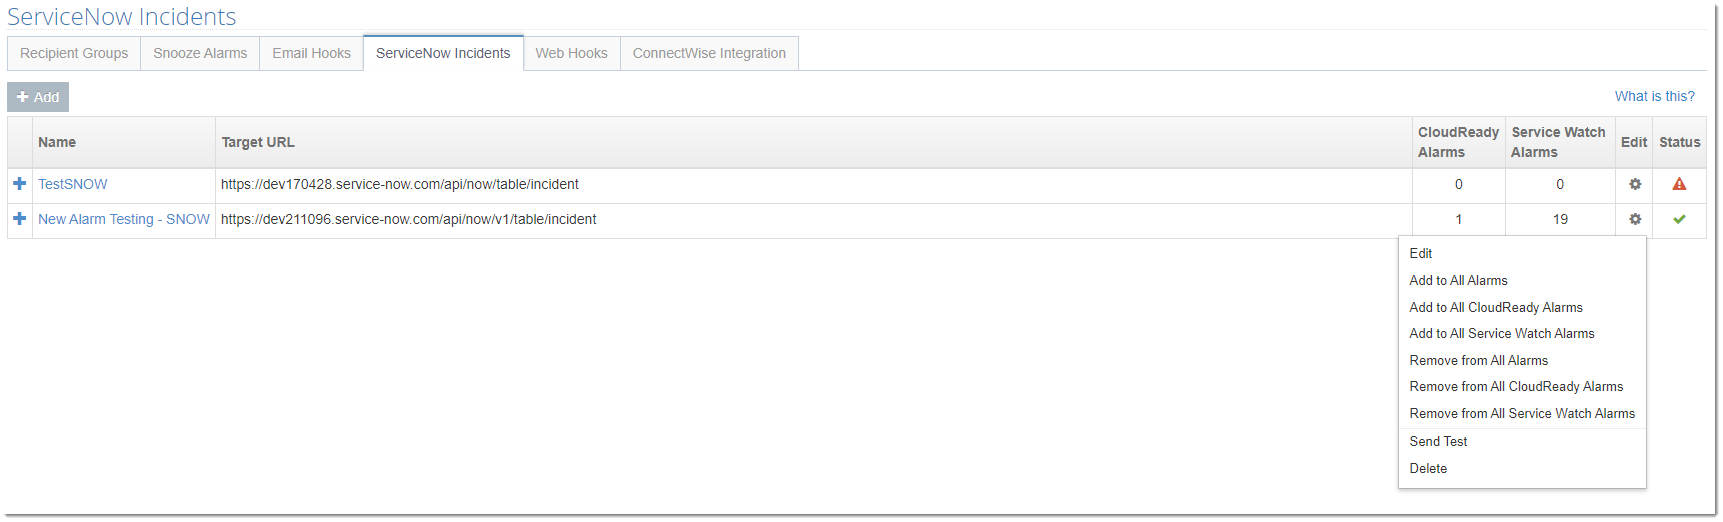
After you have your integration account created, you can configure the ServiceNow integration by navigating to Alarms > Settings and then clicking on the ServiceNow Incidents tab.
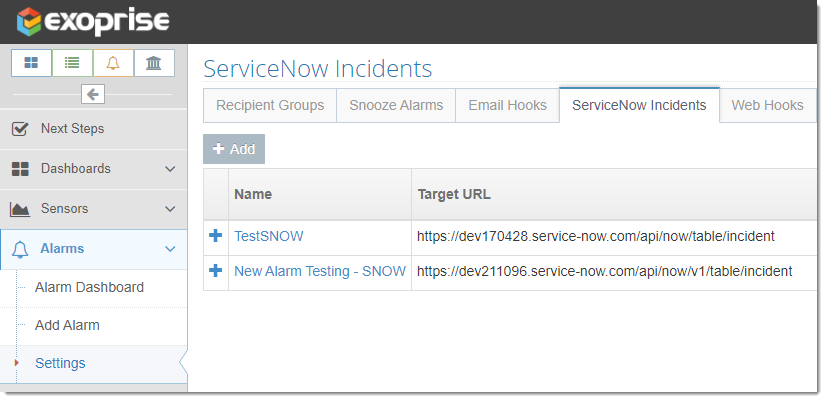
From the ServiceNow Incidents page, click the Add button.
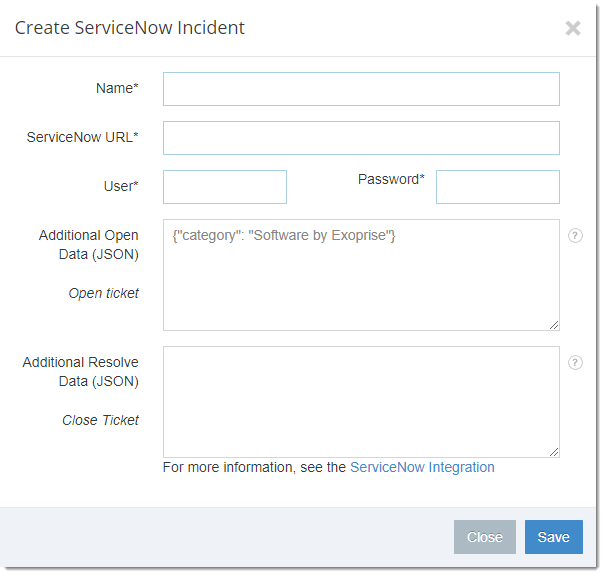
Use the following steps to populate each required field.
- Fill in the name you would like to provide the Integration. You may use the name to differentiate different information that is recorded with the alarm.
- Copy your ServiceNow URL up to .com and add the following ‘/api/now/v1/table/incident’ it should look something like:
https://yourinstance.service-now.com/api/now/v1/table/incident
- Copy and paste the URL into the ServiceNow URL field
- Input your integration accounts username and password
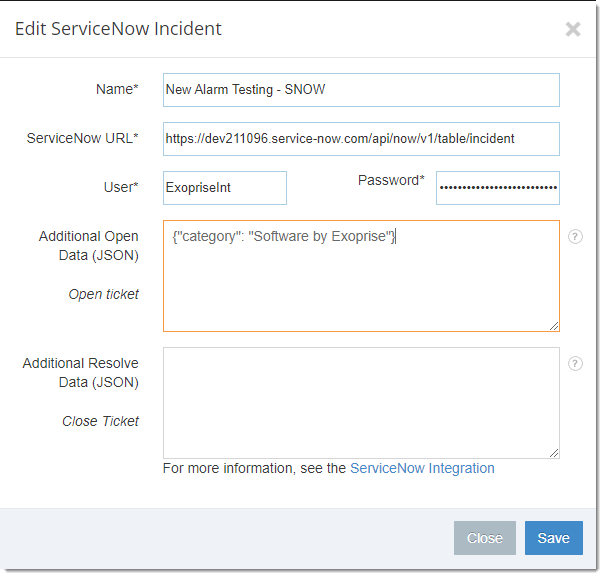
Once complete, the configuration screen should look like this. At this point, you can save the configuration.
Testing Your ServiceNow Integration
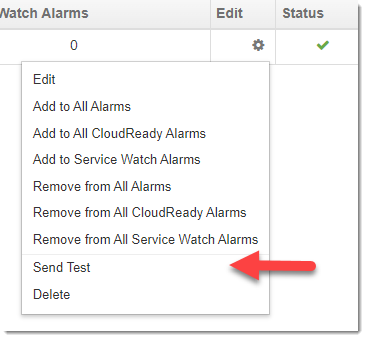
Once saved, testing the configuration of your ServiceNow integration can be done by selecting the gear in the top right under the Edit column and selecting “Send Test”
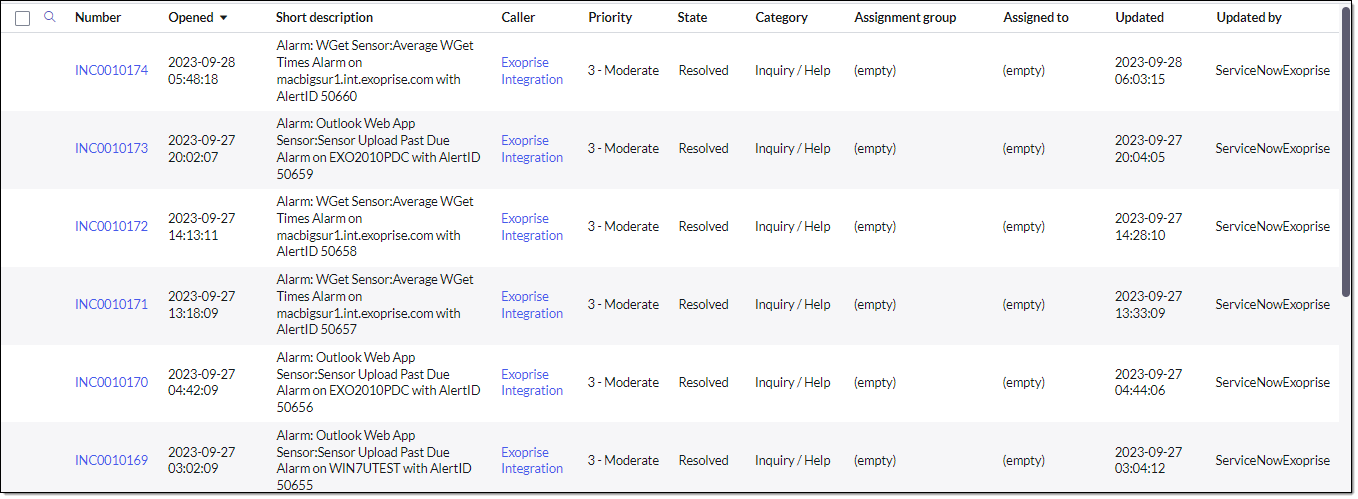
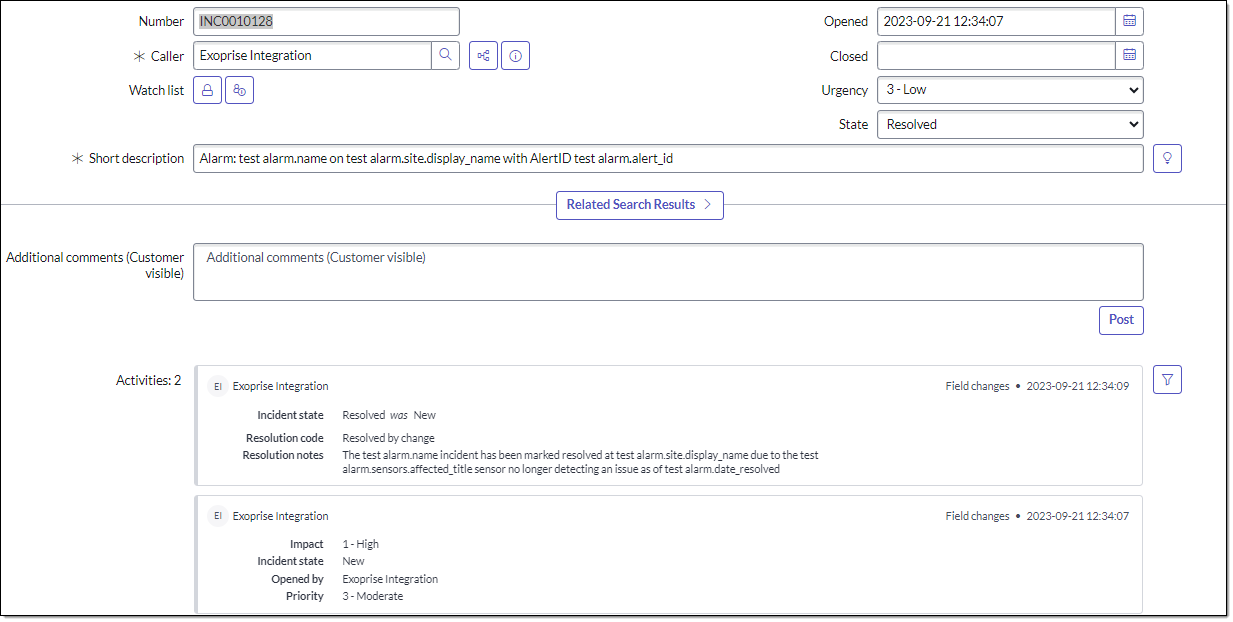
 In ServiceNow, a new incident should be Created and Resolved with the same information from the following screenshot. This is just simple test data. When a real alarm is generated and a ServiceNow ticket opened, more information will be available.
Assigning Integration to Alarms
Once you have your integration created, you will want to assign it to the alarms you want to generate incidents in ServiceNow. To assign the integration in bulk, from the integrations configuration screen, select Edit and you will be prompted to assign the integration CloudReady, Service Watch, or all alarms.
To start, navigate to the Alarm Dashboard by clicking Alarms on the left-hand menu and select Alarm Dashboard.
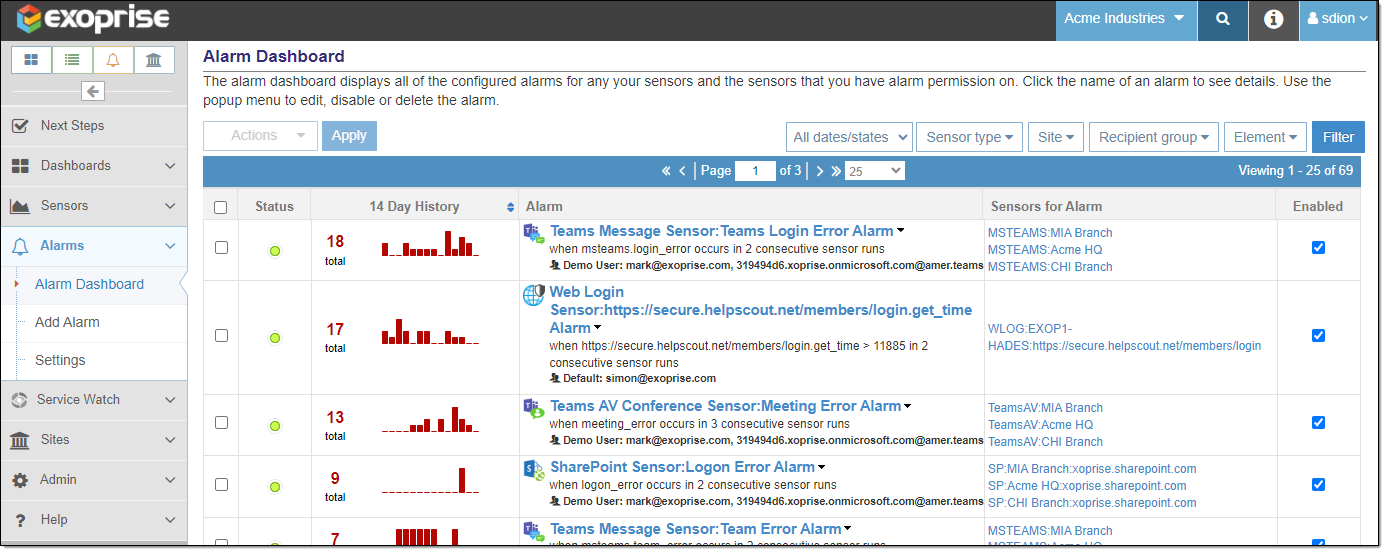
From the Alarm Dashboard, click into one of the Alarms you want to generate incidents in ServiceNow and click the Edit option to get to the Edit Sensor Alarm page. From this screen, you can select your ServiceNow integration from the ServiceNow Incident dropdown.
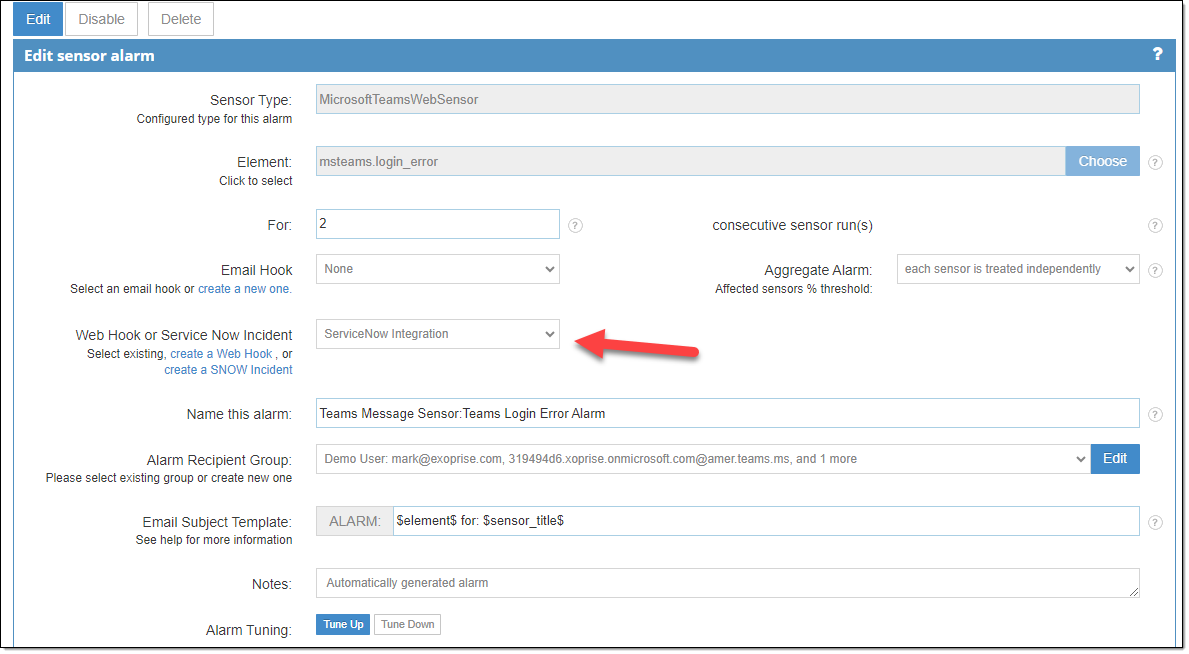
After selecting the integration from the dropdown, click “Update Alarm” at the bottom of the page. The next time this alarm is triggered, the incident will be created in ServiceNow.
Default Incident Fields
The following fields are automatically populated during incident creation. They can be overridden using JSON if you are familiar with the fields.
- short_description: Alarm name, site it was detected on, and the Exoprise alert ID
“Alarm: $alarm.name$ on $alarm.site.display_name$ with AlertID $alarm.alert_id$” - description: Alarm name, site was detected on, failure periods and an URL to get to the alarm with
“$alarm.name$ detected at $alarm.site.display_name$ and has failed for $alarm.consecutive_periods$ amount of runs at $alarm.date_fired$. Click here to view the Alarm status $alarm.url$” - impact: Default values of 1
“1” - urgency: Default value of 3, creates a ticket with moderate priority
“3” - caller_id: Uses the username you specify for the integration
“YourIntegrationAccount”
The following fields are automatically populated during incident resolution. They can be overridden with JSON if you are familiar with the fields.
- close_notes: Alarm name, site it was detected on, sensor affected, resolution date and time.
“The $alarm.name$ incident has been marked resolved at $alarm.site.display_name$ due to the $alarm.sensors.affected_title$ sensor no longer detecting an issue as of $alarm.date_resolved$” - close_code: Resolved by change
“Resolved by change” - state: Default value is 6 which sets the incident to the resolved status
“6”
Additional Open Data (JSON)
The ServiceNow integration allows for populating additional or even custom fields in ServiceNow. The example provided in the field populates the “Category” of an incident with “Software by Exoprise” but this can be changed to any field and acceptable value for that field.
The option to send additional data is available for both creating and resolving an incident. We have a list of alarm variable substitutions in this article Alarm Hook Templates.
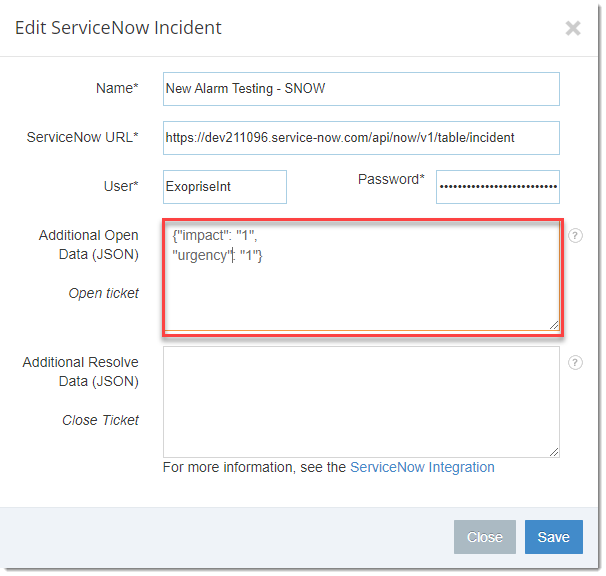
The additional data is merged into the JSON data that is sent to ServiceNow through the integration. This allows the configuration to change field values such as Impact and Urgency for controlling different incident priority.