
The following article will walk you through configuring the Service Watch Desktop Alarms.
Service Watch Desktop alarms as currently enabled for proactive notifications of performance-impacting issues of Core UCaaS applications. Know when end users are being impacted with applications like Microsoft Teams, Zoom, Outlook, OneDrive and more. This gives you the opportunity to stay ahead of digital experience issues before they impact the business.
Configuring Service Watch Desktop Alarms
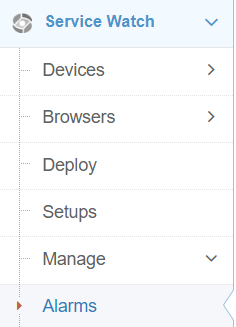
To configure Service Watch Desktop Alarms, navigate to Service Watch on the left-hand menu and select “Alarms” or Click Here.
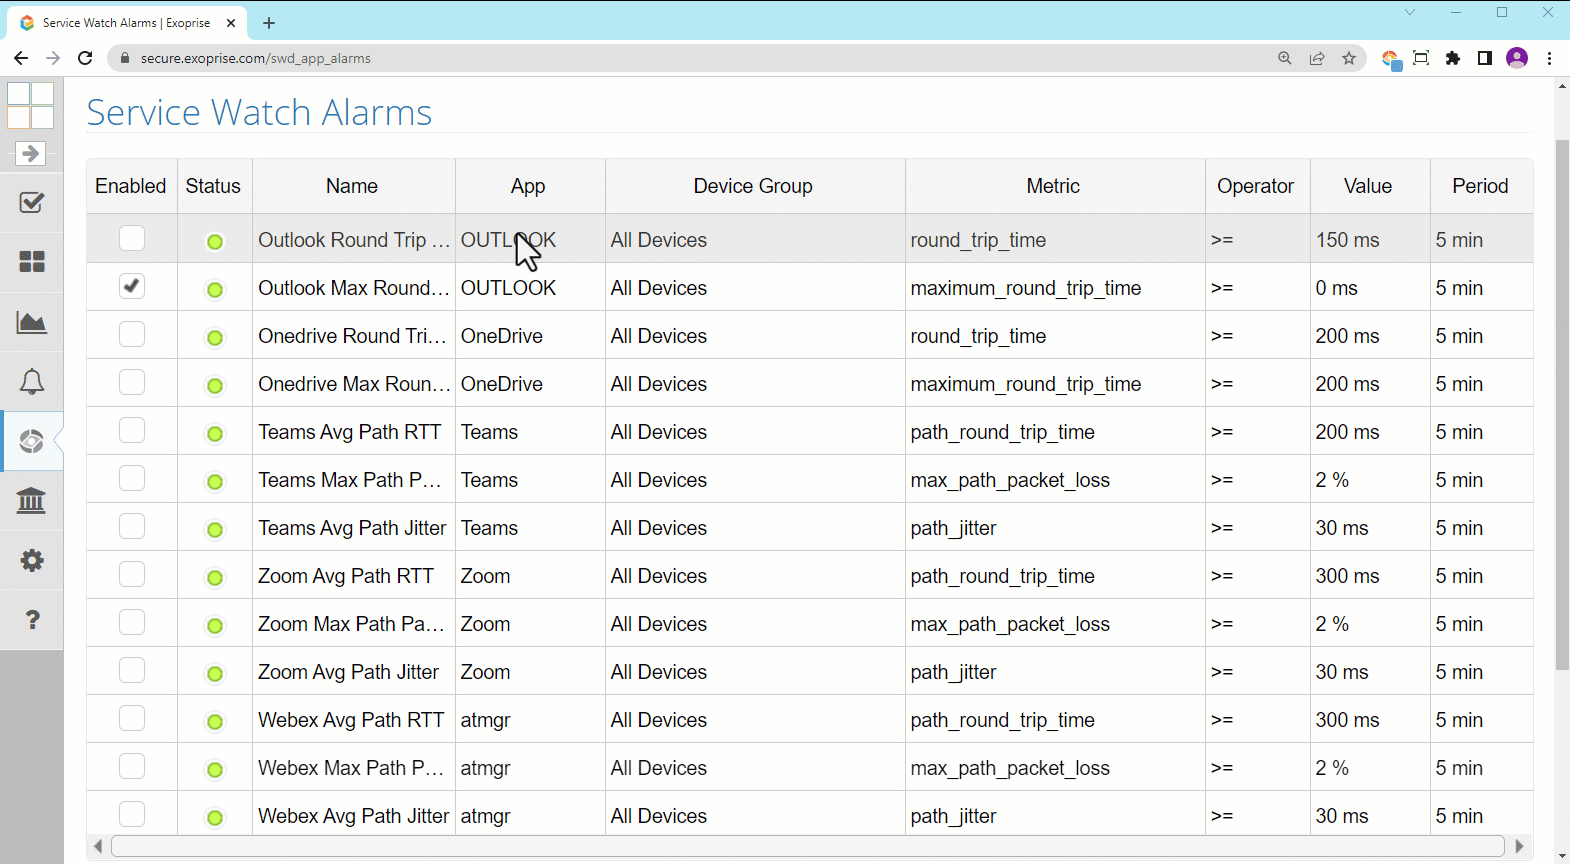
Once you are in the Service Watch Alarms menu, you will be presented with the available Alarms. You can enable them by checking the far left checkbox in the “Enabled” Column. To adjust the threshold, click in the “Value” field for that alarm to change the value at which the alarm will trigger.
Once you have configured your threshold, you will need to specify the Recipient Group, this will dictate who receives the Service Watch Desktop Alarms when an issue occurs. At the bottom of the Service Watch Desktop Alarms page you will be presented with the following.

By clicking the drop down, you can choose an existing Recipient Group, to create a new Recipient Group, click on the dropdown and select “Add New” which will bring up the “Create Recipient Group” window.
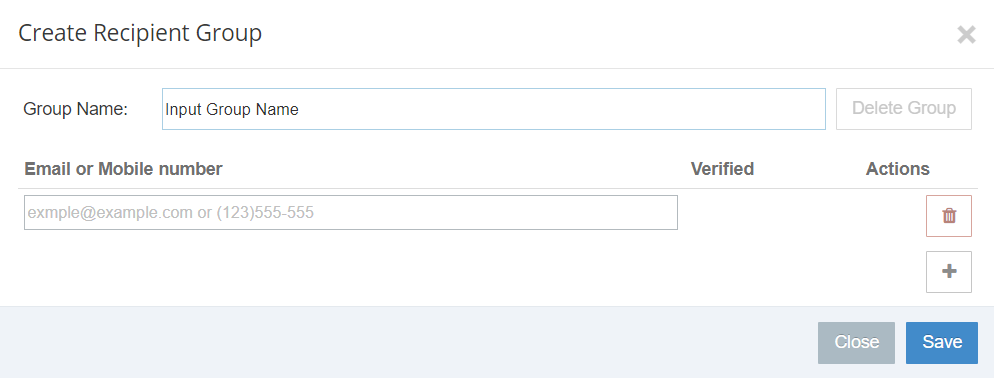
From here, provide a Group Name at the top then input the recipients Email Address or phone number to receive the Alarms as a text message. To add multiple recipients, click the + sign under Actions and input the additional contact information. Click Save once you have assigned your Recipient Group.