The following instructions will walk you through configuring and deploying Service Watch with Microsoft Intune. The first section walks users through generating the Intune install package that will be utilized in Intune to deploy. The second section will walk you through configuring Microsoft Intune to deploy Service Watch Desktop.
Creating the Intune Install Package
The first step will be to create an Intune deployment package containing the Service Watch Desktop installer. You will want to download the Microsoft Win32 Content Prep Tool from the following GitHub repository.
https://github.com/Microsoft/Microsoft-Win32-Content-Prep-Tool
You’ll also need to download the Service Watch Desktop installer that you wish to deploy from your Exoprise tenant. Read how to configure and create a Service Watch Desktop Setup.
Once you have the installer and the content prep tool downloaded, create a folder named ‘Installer’ and place the Microsoft Win32 Content Prep Tool in this folder. Once complete, create a second folder in the Installer folder named ‘SWDInstall‘ and place the Service Watch Desktop installer in this folder. To simplify the command line query, rename the installer to ‘SWDInstall.exe’
Once this is complete, start a command prompt as Admin and navigate to your Installer folder by copying the path from the File Explorer and using the command cd "Folder Path"

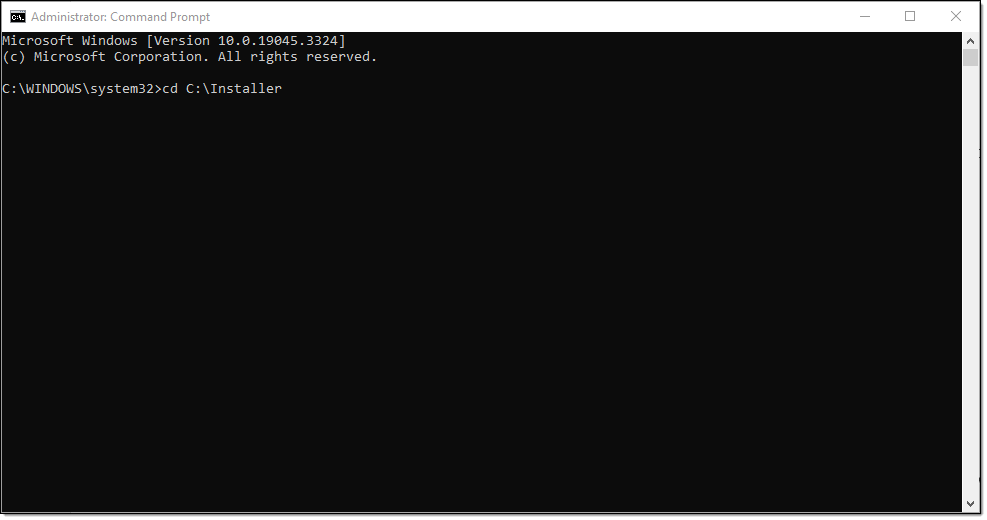
You will then run the following command from the command prompt.
IntuneWinAppUtil.exe -c .\SWDInstall -s .\SWDInstall.exe -o .\SWDIntune
You will be prompted to create the SWDIntune folder, type ‘Y’ and hit enter
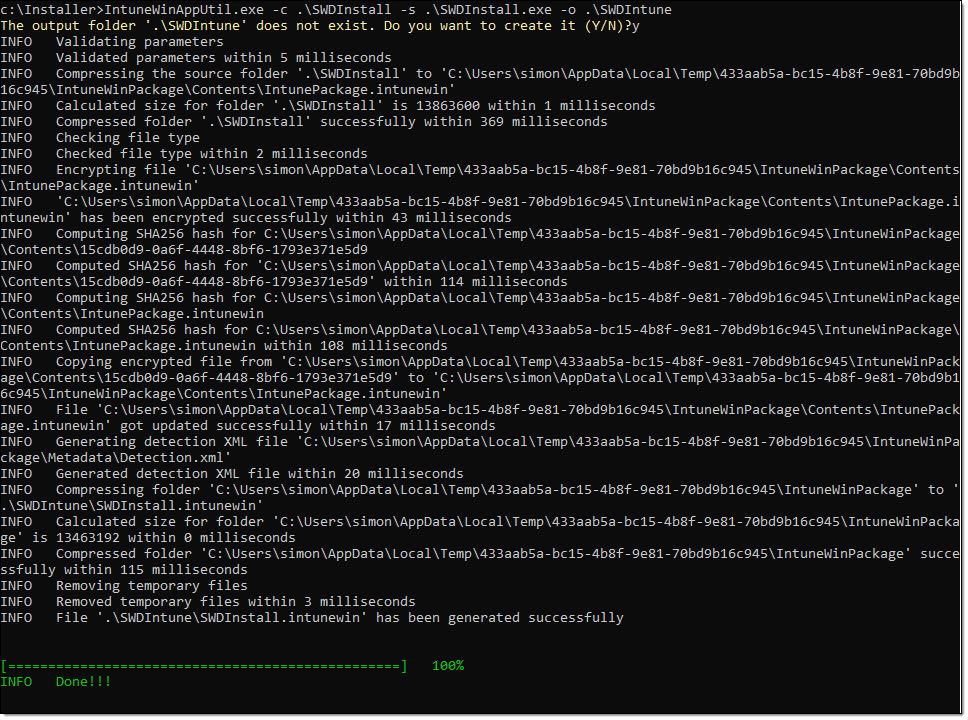
This will create a new folder named ‘SWDIntune’ in ‘Installer’ containing SWDInstall.intunewin which will be used to create the application package in Intune.
Adding Service Watch to Intune Apps
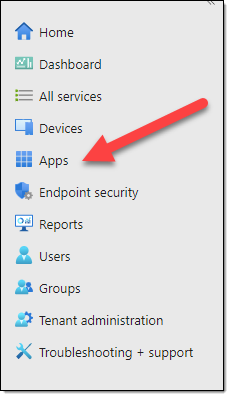
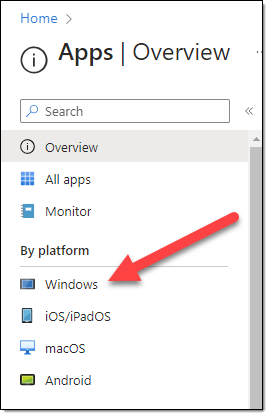
Now you need to add the Intune package to the list of Apps. To do this, log in to the Intune Admin Center and select ‘Apps’ on the left-hand menu, then ‘Windows’ and Select ‘Add’.

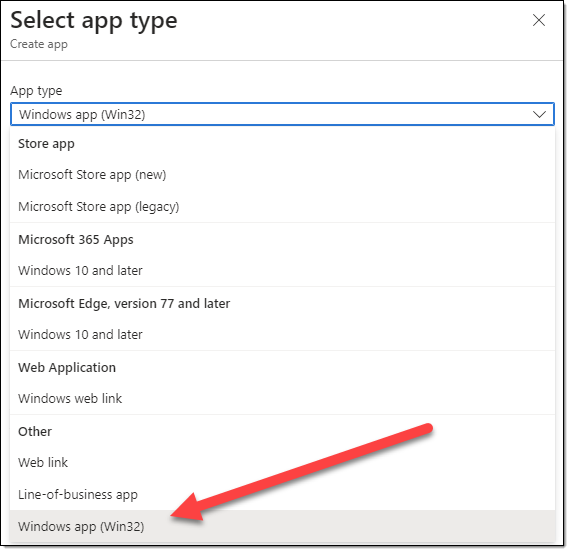
Once prompted for the App Type, pick ‘Windows app (Win32)’ and click ‘Select’
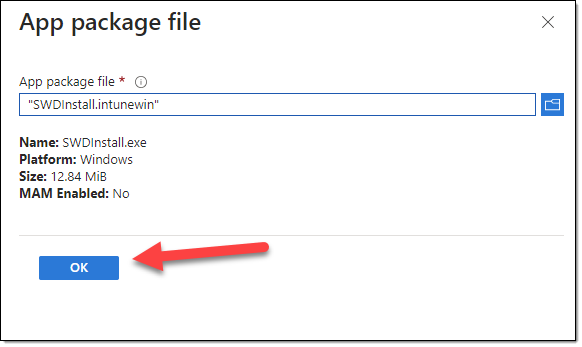
This will bring you to the Add App screen where you can add the Intune package by clicking ‘Select app package file’ and add the ‘SWDInstall.intunewin’ file you created using the Microsoft Win32 Content Prep Tool and select ‘OK’

Once you are in the Program section, you’ll want to input the correct paths for the Install Command and Uninstall Command which are listed below, as well as ensure the ‘Install Behavior’ is set to ‘System’ and ‘Device Restart Behavior’ is set to ‘No Specific Action’
Install Command: SWDInstall.exe /S
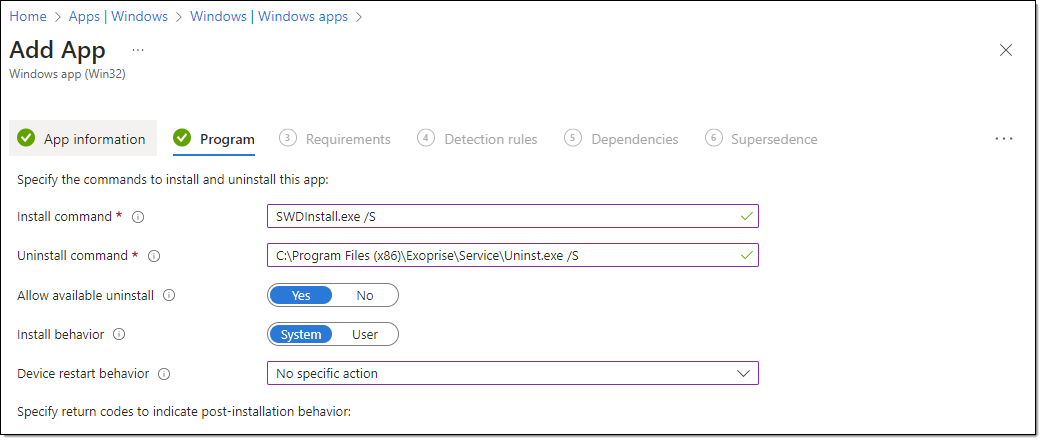
Uninstall Command: C:\Program Files (x86)\Exoprise\Service\Uninst.exe /S
Click to enlarge
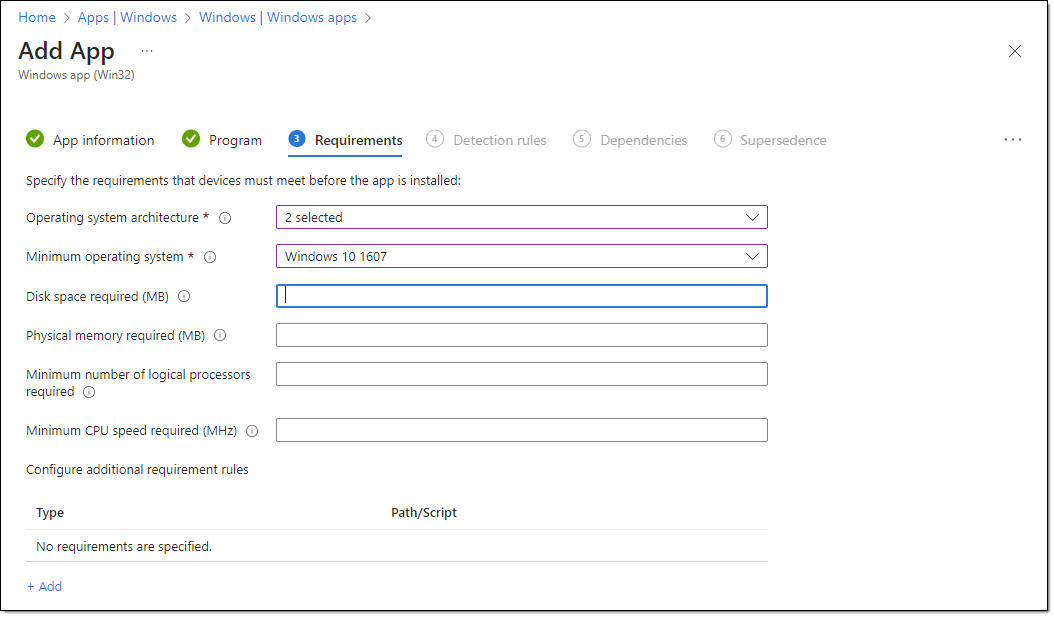
In the Requirements section, select 32 and 64 bit from the ‘Operating System Architectures’ dropdown and set the Minimum Operating System to Windows 10 1607 to include all Windows 10 and 11 versions.
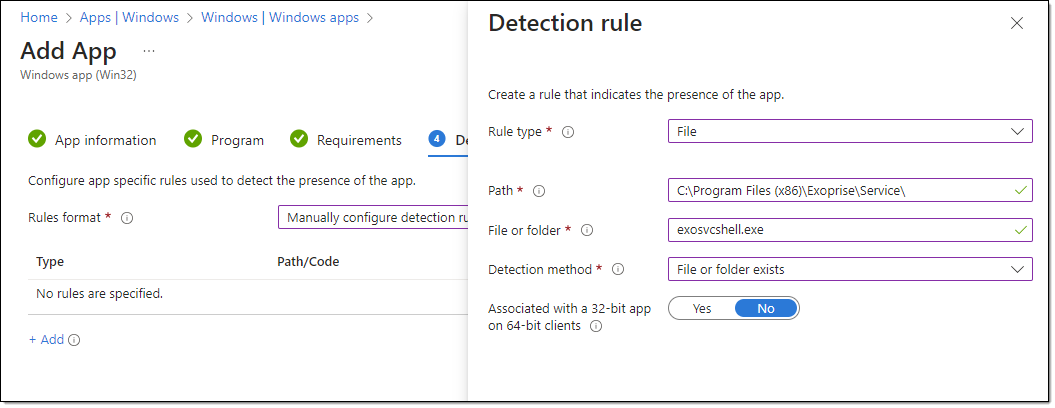
After completing the Requirements section, you will need to configure the Detection rule which runs post installation to verify the installation completed successfully. You will want to input the following into the correct fields.
Rule Type: ‘File’
Path: “C:\Program Files (x86)\Exoprise\Service\”
File or folder: “Exosvcshell.exe”
Detection Method: “File or folder exists”
Associated with a 32-bit app on 64-bit clients: “No”
Upon completing this step, you can continue through the wizard until you reach the Assignments section, where you will need to assign the App to the Group of machines you are looking to deploy Service Watch Desktop to. If you have not created a group yet, save the configuration and edit the assignment after the group is created.
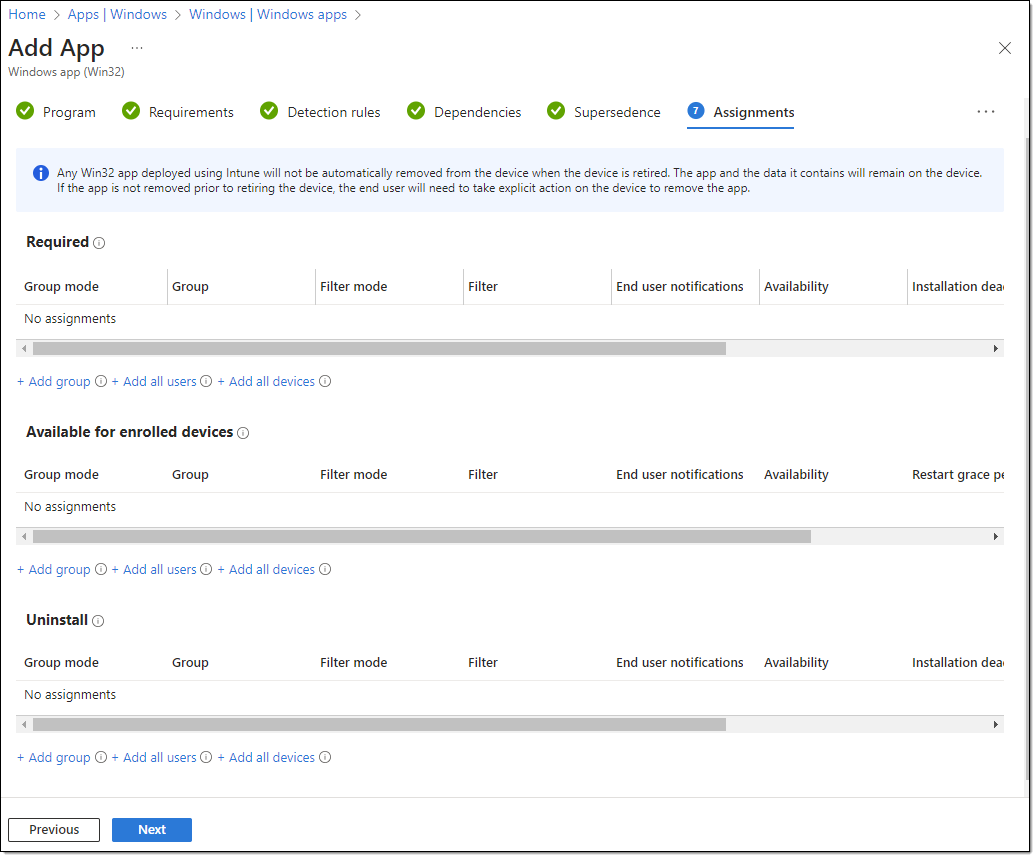
Once you have selected the groups to deploy the app to, select ‘Create’ to complete the wizard.

