
All email synthetic testing for Exchange Online or Microsoft Office 365 now requires Modern authentication (OAuth 2.0 token-based authentication). This is due to the deprecation of Basic Authentication by Microsoft for Exchange Online. You can read more about the deprecation on Microsoft’s site.
Token-based authentication such as OAuth 2.0 means you are giving limited access to user accounts via HTTP. It works by delegating account authentication to a service like Exchange Online, which authorizes third-party applications like Exoprise CloudReady synthetic sensors to access a specific user account that you allow. OAuth 2 provides authorization flows for web and desktop applications, as well as mobile devices.
How To Sign In And Accept an OAuth Registration
For testing email mailbox access, mail flow, Exchange mail queues, performance, and uptime, you will need to accept an Exoprise OAuth registration from within the Exoprise platform. Where possible, Exoprise has created different OAuth registrations for different email and Exchange protocols, including Exchange Web Services or Graph API.
Exchange Web Services, Exchange ActiveSync, Calendar Access
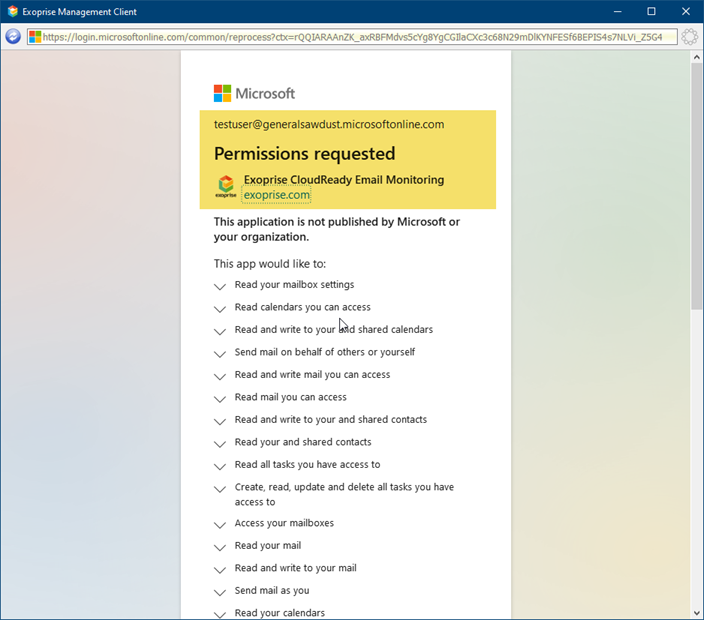
Microsoft added OAuth permissions to the Exchange Web Services (EWS) protocol, as well as Exchange Active Sync, essentially back porting OAuth authorization to protocols that did not originally support this type of authorization.
Exoprise CloudReady synthetic sensors utilize the same back ported permissions for Exhchange Online, ActiveSync and Calendar FreeBusy testing. This is the reason that there are a number of permissions requested.
There is a separate OAuth for the newer, OAuth native Email graph protocol. Exoprise intends to add tests and sensors that leverage the Graph API in the future.
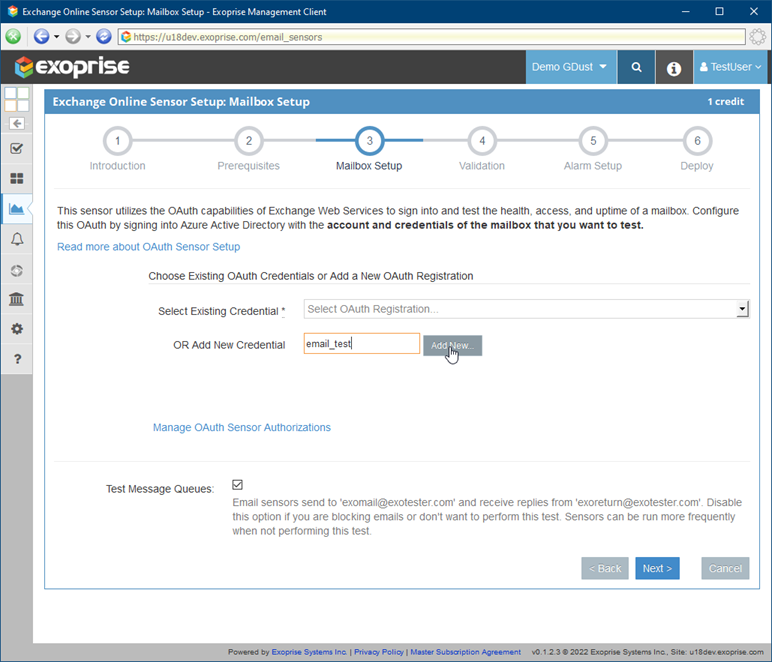
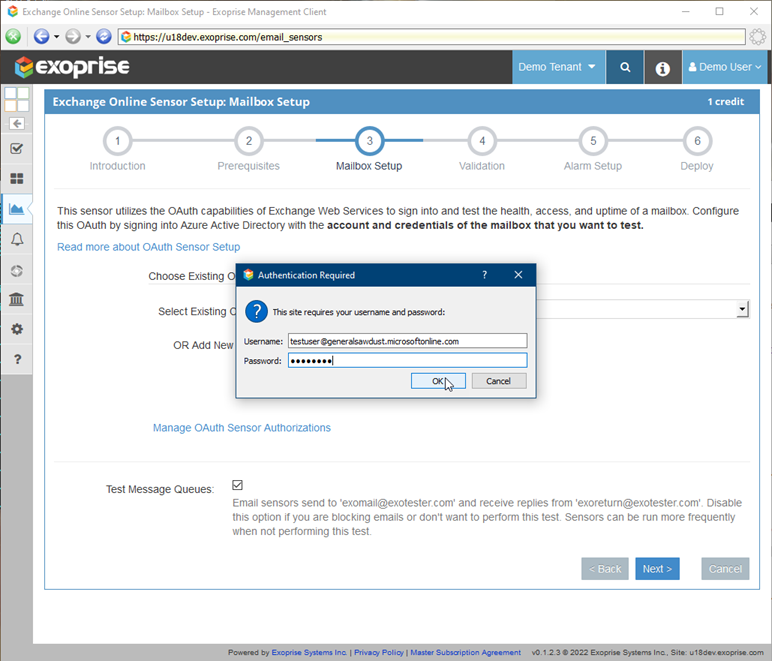
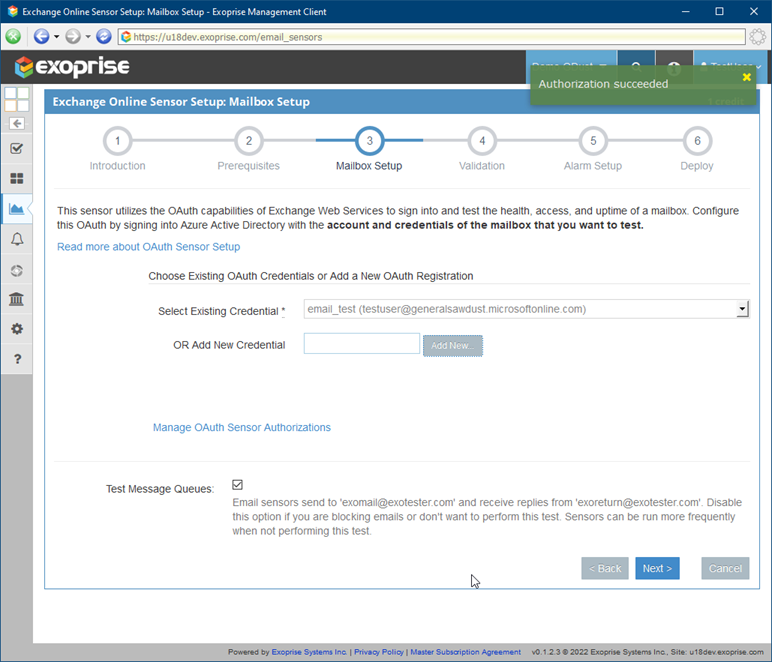
Steps To Add an OAuth From Sensor Setup Wizards

Managing the OAuth Credentials Within Exoprise
You can separately manage the OAuth registrations within Exoprise by going to Admin > Settings > OAuth. The admin or owner role within Exoprise is required.