
The following article will walk you through the steps to deploy Microsoft Office 365 Sensors. These Sensors will monitor the availability and performance of the specific applications and help you identify if issues are occurring at the internal network level, across the web or in the Microsoft Office cloud. We offer both browser based and API based sensors.
Browser Based Sensors
- Office 365 Portal Web
- Teams Message
- Teams A/V Conferencing*
- Outlook Web App*
- SharePoint
- OneDrive
- Yammer
* These sensors have additional requirements during configuration.
API Based Sensors
- AzureAD
- Email Graph
- Exchange Online
- Exchange ActiveSync
- Exchange FreeBusy
- SharePoint API
- OneDrive API
Choosing your Sites
A majority of the Office 365 sensors can be deployed to both Private Sites and Public Sites. To monitor the true performance and end-user-experience we recommend running the sensors at Private Sites. Doing so will provide you with insight into how the application is running in your own environment as oppose to Public Sites which are hosted by us in the cloud.
To deploy a Private Site, Click Here.
Deploy an Office 365 Sensor
If deploying to a Private Site, you will need to first download the Exoprise Management Client. If you are deploying to a Public Site, you can do so from your browser. The steps will be nearly identical.
Download the Exoprise Management Client
- From the machine you are deploying the sensor to, log in to Exoprise from https://secure.exoprise.com
- Once logged in, download and install the Exoprise Management Client from https://secure.exoprise.com/download
- Here is a link to the documentation for the Exoprise Management Client https://help.exoprise.com/kb/whats-the-management-client/
- Once installed, start the Exoprise Management Client and log in using your credentials
Prerequisites
Choosing a Sensor
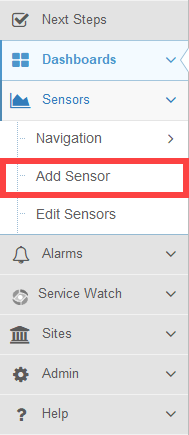
Upon logging into Exoprise via the Exoprise Management Client or browser, navigate to Sensors and then Add Sensors on the left hand menu.
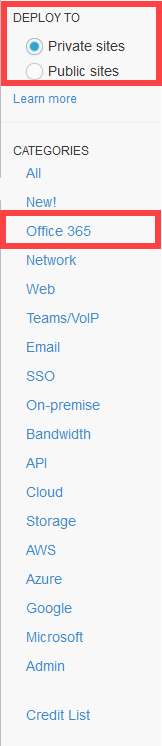
Once there, you can choose either a Private Site or Public Site in the top left as well as the Office 365 Category and select the sensor for the application you want to monitor.
After you have selected the sensor you want to deploy, you will be taken to the Introduction page.
Introduction
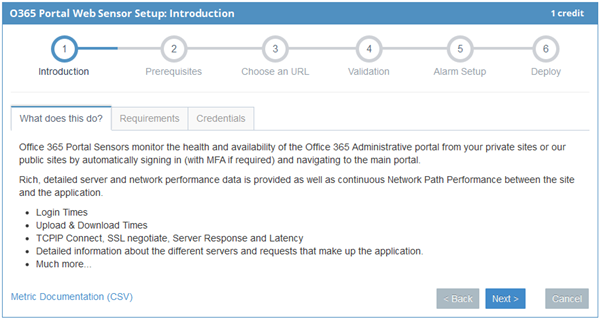
This page will give you a summary of what the sensor will be monitoring, the requirements and an explanation of the credentials that will be required.
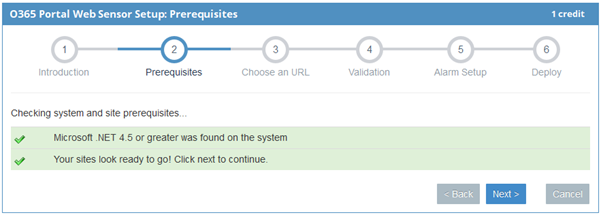
Upon clicking Next, if deploying through the Exoprise Management Client you will be brought to the Prerequisites Page. This will verify that the machine has the Prerequisites installed to allow the sensor to deploy and run. If deploying to a Public Site via browser this step will be skipped. Once it has complete, click next.
Prerequisites
Depending on which sensor you are deploying, the next screen will prompt you for information such as your SharePoint or OneDrive URLs or EMail Address depending on what type of sensor you are deploying. It will also prompt for credentials, TOTP key if using MFA, and OAuth credentials if applicable.
Setup
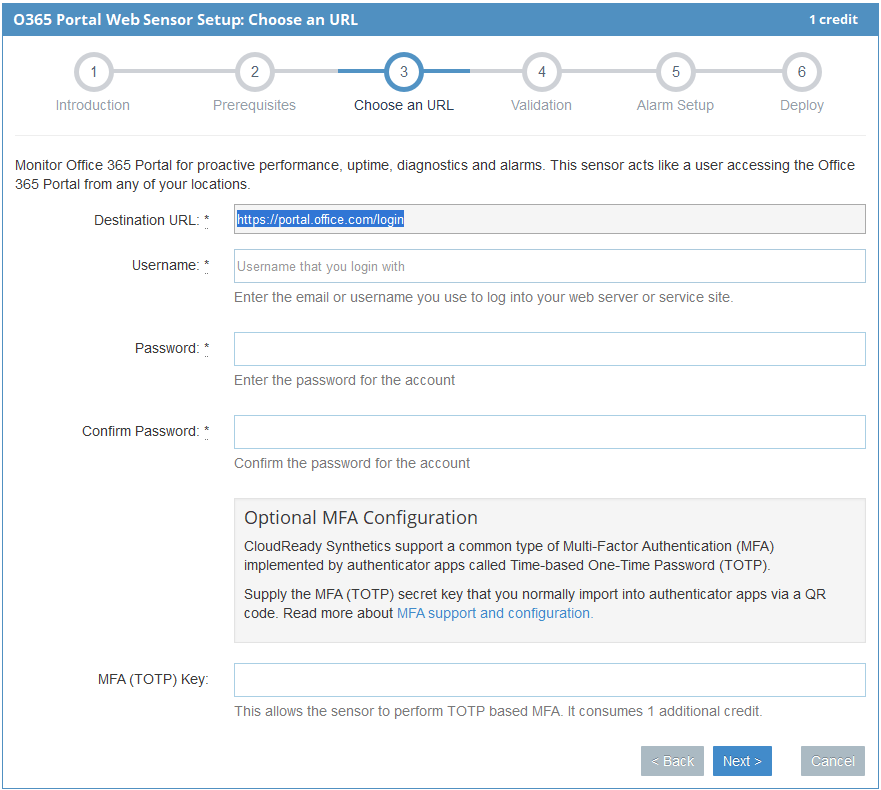
Multi Factor Authentication
Validation
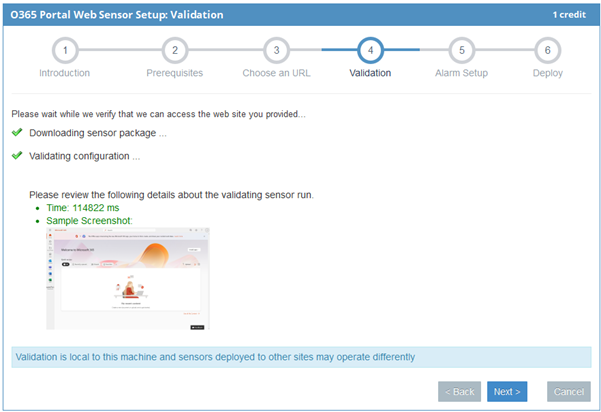
Once you have gotten to the Validation screen, the Exoprise Management Client will download the sensor to the site and validate that it is able to run properly. If there are any issues with the information input, it will generate an error along with a screenshot of what the sensor saw while attempting to run. Once Validation is complete, click Next to be taken to the Alarm Setup.
Alarm Setup
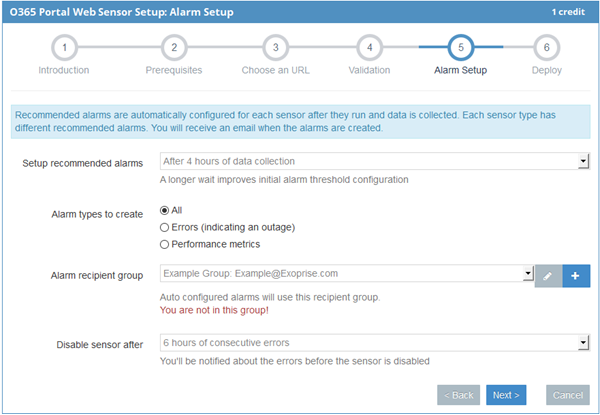
The Alarm Setup page will allow you to select how the Out of Box Alarms will be configured for this sensor. Alarms can be configured in a multitude of ways, read more here. Once you have configured your initial Alarm settings, click Next to get to the deployment screen.
Deploy
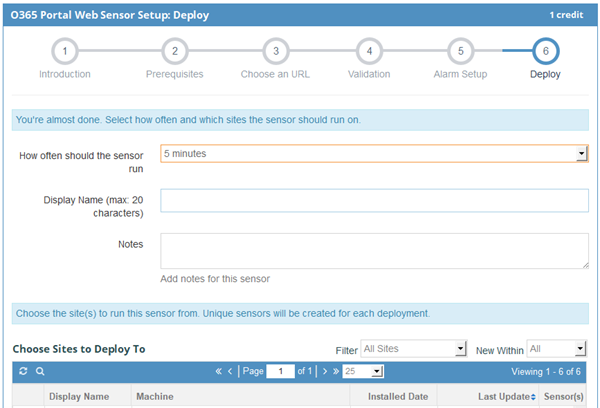
In the Deploy section, you will be able to specify how frequently the sensor should run. For a Private Site sensor, you can select the Site you want to deploy to. We highly recommend manually going through this process for each site due to the validation that is done by the Management Client during the deployment process as not all environments are the same.